PropertyPlaceholderConfigurer 에 적용법에 대해 알아보겠습니다.
일단 PropertyPlaceholderConfigurer 라는 것에 대해 알아보도록 합시다.
Java Spring Boot 와 DB 연동 작업을 할 떄 이러한 외부에서 환경을 설정해주는 파일을 많이 보셨을 거라고 생각합니다. 이러한 작업을 도와주는 것이 바로 오늘 적용해볼 설정인 PropertyPlaceholderConfigurer 입니다.
본 문서는 PropertyPlaceholderConfigurer 라는 설정을 통해 내부설정을 외부에 저장하는 환경설정 파일로 분리하는 작업을 시행해보도록 하겠습니다.
# Contents
- PropertyPlaceholderConfigurer 적용
# PropertyPlaceholderConfigurer 적용
1. Class 생성
외부 파일을 환경설정 파일처럼 가져오게 하기 위해서는 환경설정 파일에 내용의 값 마다 변수로 넣어줘야 합니다. 그렇기 때문에 빈을 생성하여야 하고, 빈을 생성하기 위해서는 가장 대표적인 방법인 Class를 생성하고 Bean을 만들어 값을 넣어주도록 하겠습니다.
제가 만들 클래스의 명은 ApplicationProperty.java 입니다.
이 클래스는 간단하게 작성자 이름과 작성자 이메일을 외부에서 받는 클래스입니다. 그러면 시작해보죠.
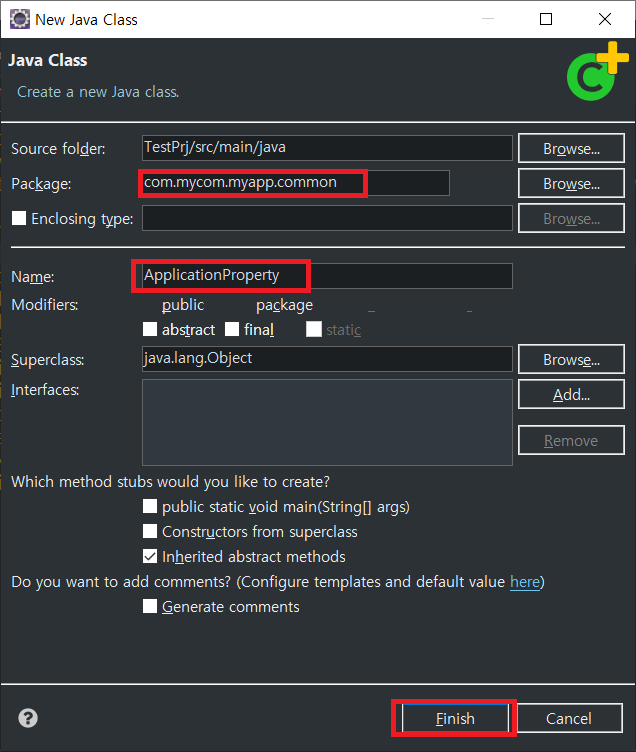
패키지명은 com.mycom.myapp.common , 클래스명은 ApplicationProperty 으로 설정한 후 Finish를 눌러줬습니다.
그리고 아래 코드를 작성하였습니다.
public class ApplicationProperty{

	public static String userName;
	public static String userEmail;

	public String getUserName() {
		return userName;
	}
	public void setUserName(String userName) {
		ApplicationProperty.userName = userName;
	}
	public String getUserEmail() {
		return userEmail;
	}
	public void setUserEmail(String userEmail) {
		ApplicationProperty.userEmail = userEmail;
	}
}
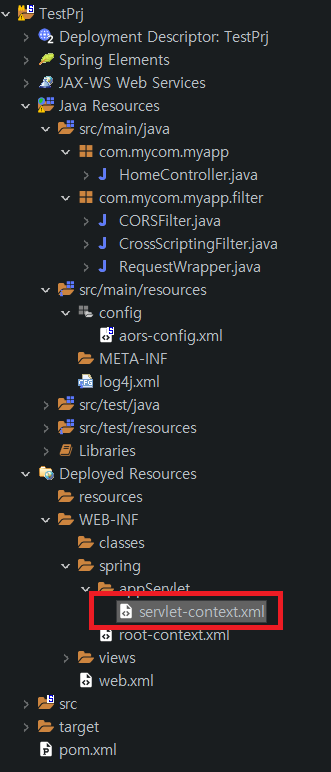
1. servlet-context.xml 수정
servlet-context.xml 로 이동 합니다.
경로는 다음과 같습니다.
그리고 아래 코드를 추가해주세요.
아래 코드 중 classpath:config/application.properties 코드 는 외부 환경설정 파일의 주소입니다.
그리고 classpath:/config/application-bean.xml 코드 는 빈 생성 코드입니다.
<!-- PropertyPlaceholderConfigurer -->

<beans:bean class="org.springframework.beans.factory.config.PropertyPlaceholderConfigurer">
	<beans:property name="locations">
		<beans:list>
			<beans:value>classpath:config/application.properties</beans:value>
		</beans:list>
	</beans:property>
</beans:bean>

<beans:import resource="classpath:/config/application-bean.xml" />
2. bean 생성
저는 1번에서 빈을 생성할 때 classpath:/config/application-bean.xml 코드 로 작성을 하였습니다. 따라서 config에 해당 xml을 생성하고 아래에 있는 코드를 붙여 넣겠습니다.
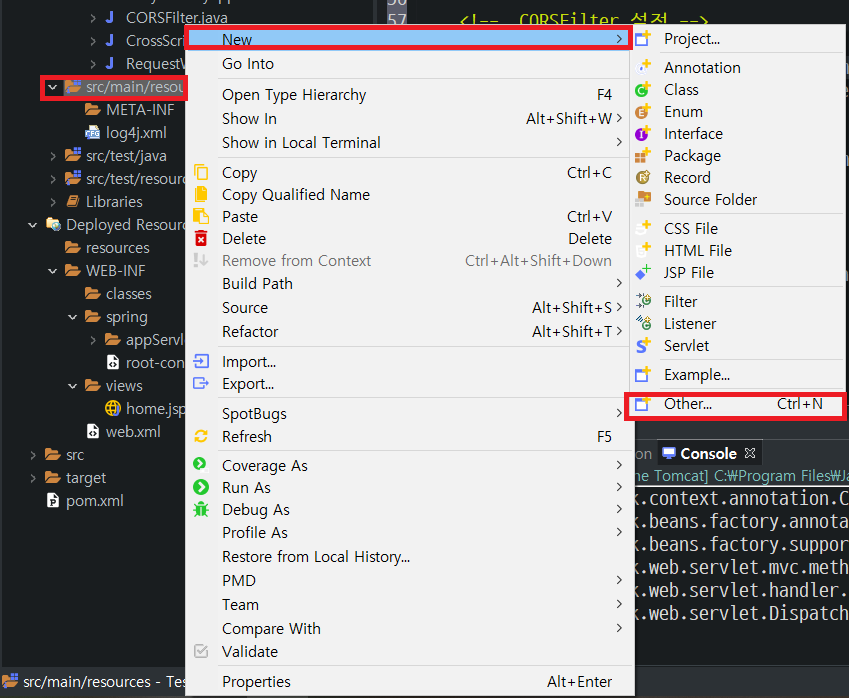
xml을 생성할 때에 방법은 아래와 같습니다.


코드는 다음과 같습니다.
<?xml version="1.0" encoding="UTF-8"?>
<beans xmlns="http://www.springframework.org/schema/beans"
	xmlns:xsi="http://www.w3.org/2001/XMLSchema-instance"
	xsi:schemaLocation="http://www.springframework.org/schema/beans http://www.springframework.org/schema/beans/spring-beans-3.0.xsd">

	<!-- for application.properties -->
	<bean id="propertySet" class="com.mycom.myapp.common.ApplicationProperty" >
		<property name="userName" value="${user.name}" />
		<property name="userEmail" value="${user.email}" />
	</bean>

</beans>
각각의 프로퍼티에 value에는 3번에서 적용할 프로퍼티 파일의 Title입니다.
3. Property 생성
저는 1번에서 classpath:config/application.properties 코드 는 외부 환경설정 파일의 주소로 작성을 하였습니다. 따라서 config에 해당 properties를 생성하고 아래에 있는 코드를 붙여 넣겠습니다.
properties을 생성할 때에 방법은 아래와 같습니다.


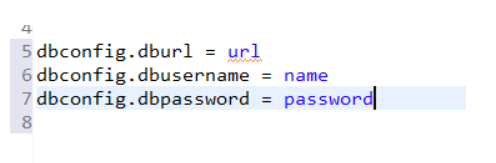
이렇게 생성된 파일 안에 코드는 다음과 같습니다.
코드라기 보다는 환경파일의 내용이라고 하는게 나을 거 같습니다만..ㅎㅎㅎ
user.name=Gil-Dong
user.email=hong@gmail.com
4. 사용방법
자신이 생성한 클래스의 변수가 Static 형식으로써, 아래처럼 그대로 가져오시면 되겠습니다.


'오픈소스 > 스프링' 카테고리의 다른 글
| [Spring] Jackson의 ObjectMapper을 이용한 String to Object[VO] & Object[VO] to String (0) | 2021.10.01 |
|---|---|
| [Spring] AOP 설명 및 예제 (0) | 2021.10.01 |
| [Spring] CORS with Spring Framework (0) | 2021.10.01 |
| [Spring] CORS Filter 적용 (0) | 2021.10.01 |
| [Spring] XSS Filter 적용 (2) | 2021.10.01 |


